
Content
More and more applications offer the feature of synchronising data between multiple devices, including cloud storage. This is the case for your passwords, files, contacts, etc… But you can also synchronise pCloud files directly to your phone’s file storage system, so you can directly access them.
Synchronise pCloud files directly on your Android phone
If you want to replicate all your files, directly on your Android phone, without even using the pCloud app this is possible. And this is extremely handy because they can be directly accessed and used on your phone by any other apps. They can be scanned by your music player, ebook reader, etc….
You can of course also synchronise any folder of your phone to pCloud (not only your pics) !
Sync files both ways automatically
You can sync music, video, ebooks, PDF, ZIP, APKs, basically just any files… Backup your music, pictures and other important files from the phone to your cloud storage or the other way around.
Automation support using Tasker and similar programs enables fine grained control of your syncs.
How to sync pCloud and your Android our Files With FolderSync
For that, you need to use FolderSync, which is a free app or paid app if you don’t want ads.
Step 1: setup FolderSync access on your phone
The first thing we’ll need to do is grant the app the required permissions.
You’ll have to give FolderSync access to your storage, as well as disabling battery optimisation for the app.
Step 2: Setup pCloud access
Once we’re done with permissions, you can actually start setting access to pCloud.
Go to the Account tab, and tap on Add account. Here you’ll choose the pcloud storage solution
As your can see the list of Cloud providers you can sync with your Android phone is pretty long.
Now, tap on Authenticate Account. You’ll be taken to a pCloud page where you’ll be prompted to give full read and write permissions to FolderSync. Tap Allow if you’re okay with this.
If everything went fine, the app will tell you “Login Succeeded” and you should see your pCloud account’s name as well as your remaining storage space.
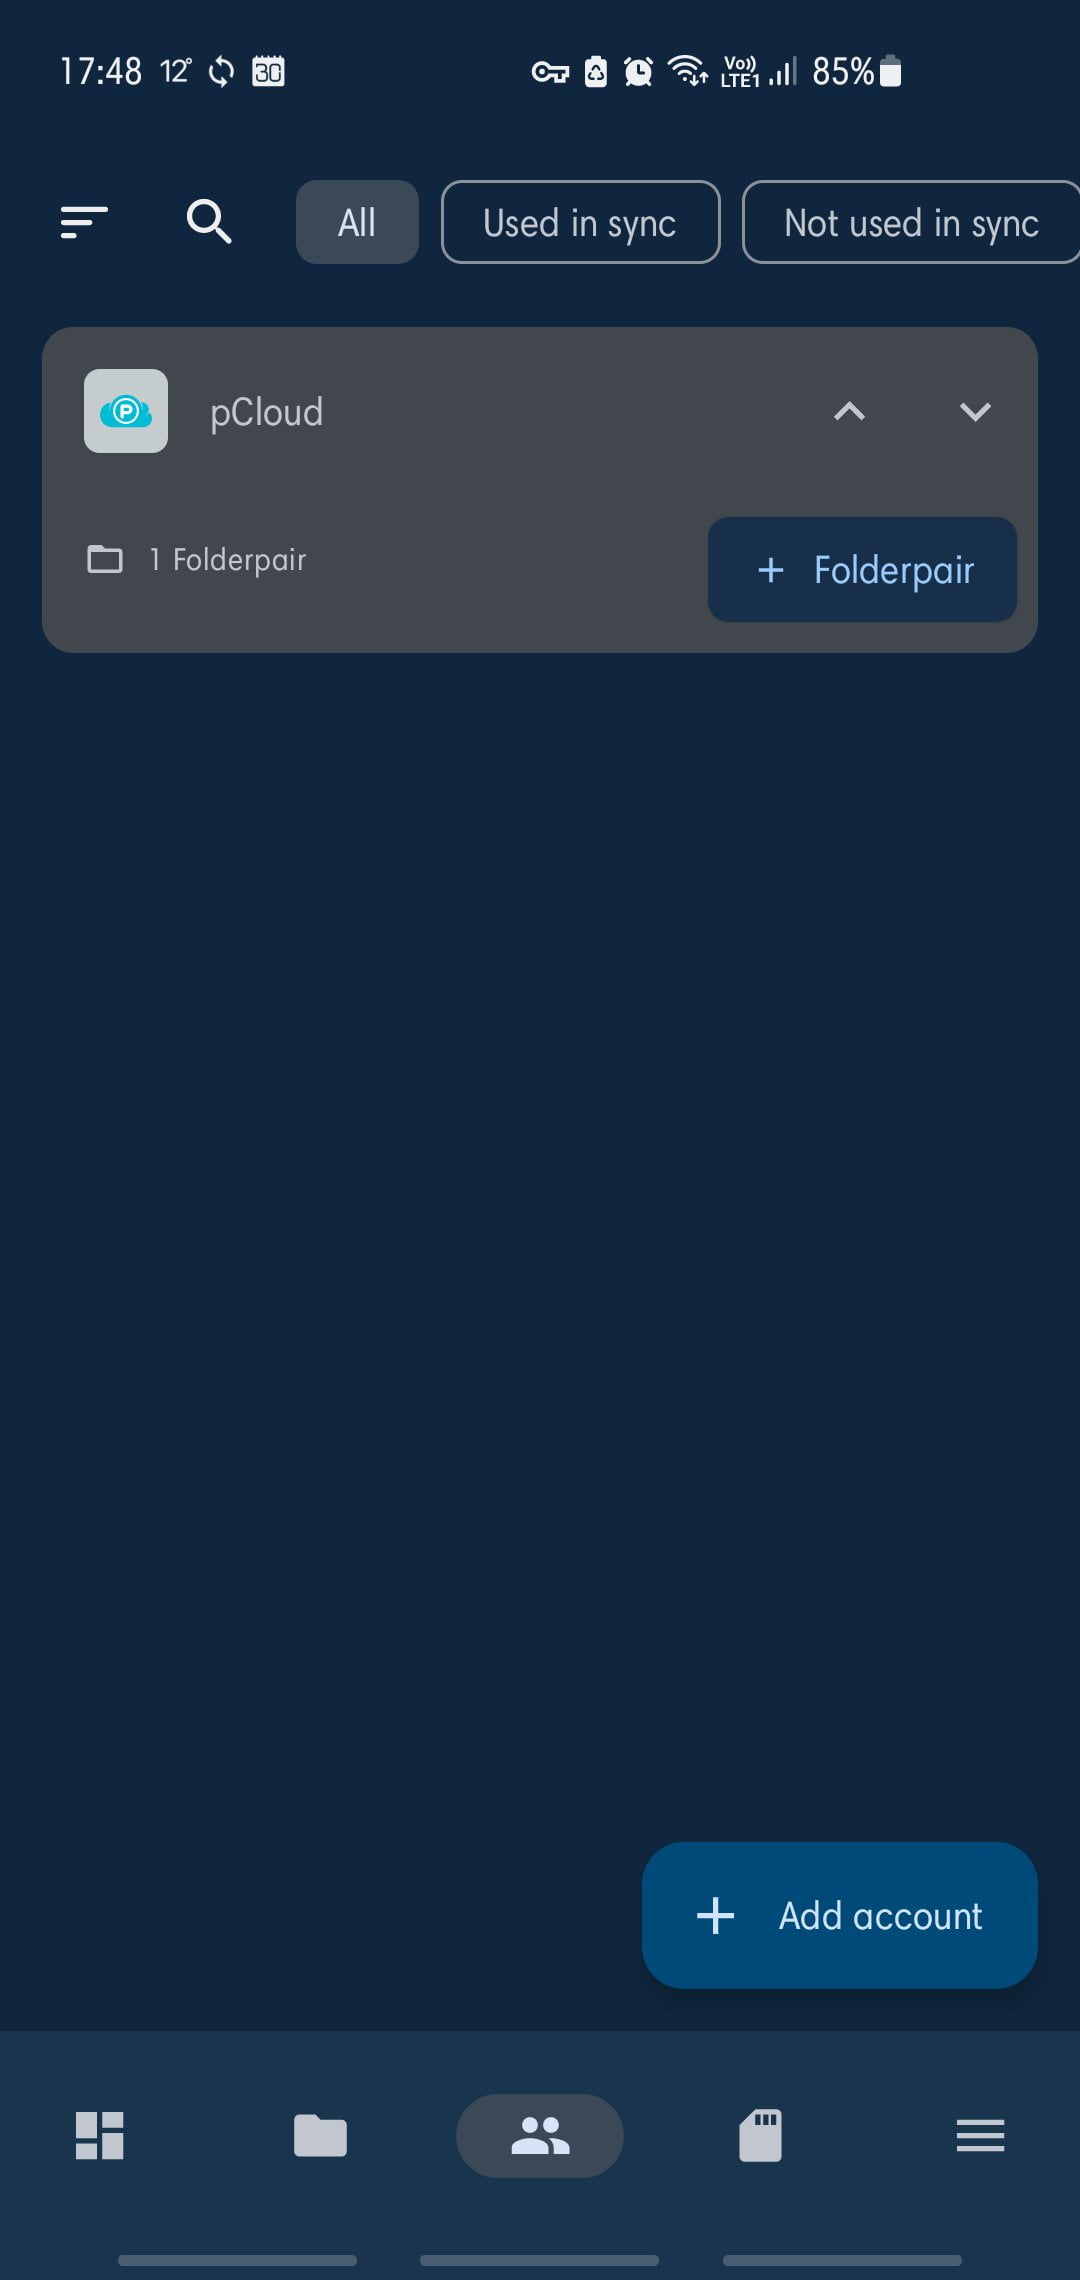
Step 3: Create the Folderpair
The next step is to create a Folderpair on your phone. As the name implies, you’ll be creating a pair of folders, one on your device and one in pCloud, and then you’ll be linking them together.
To do this, go to the Folderpairs tab and tap on Create Folderpair, then tap on Google Drive. In the next screen you’ll be setting up your preferences for the Folderpair.Now, tap on the folder icon next to the Remote folder text box and you’ll be taken to a view of your Google Drive folders. Select the folder where you want your stuff to be saved, or create a new one if you haven’t yet.
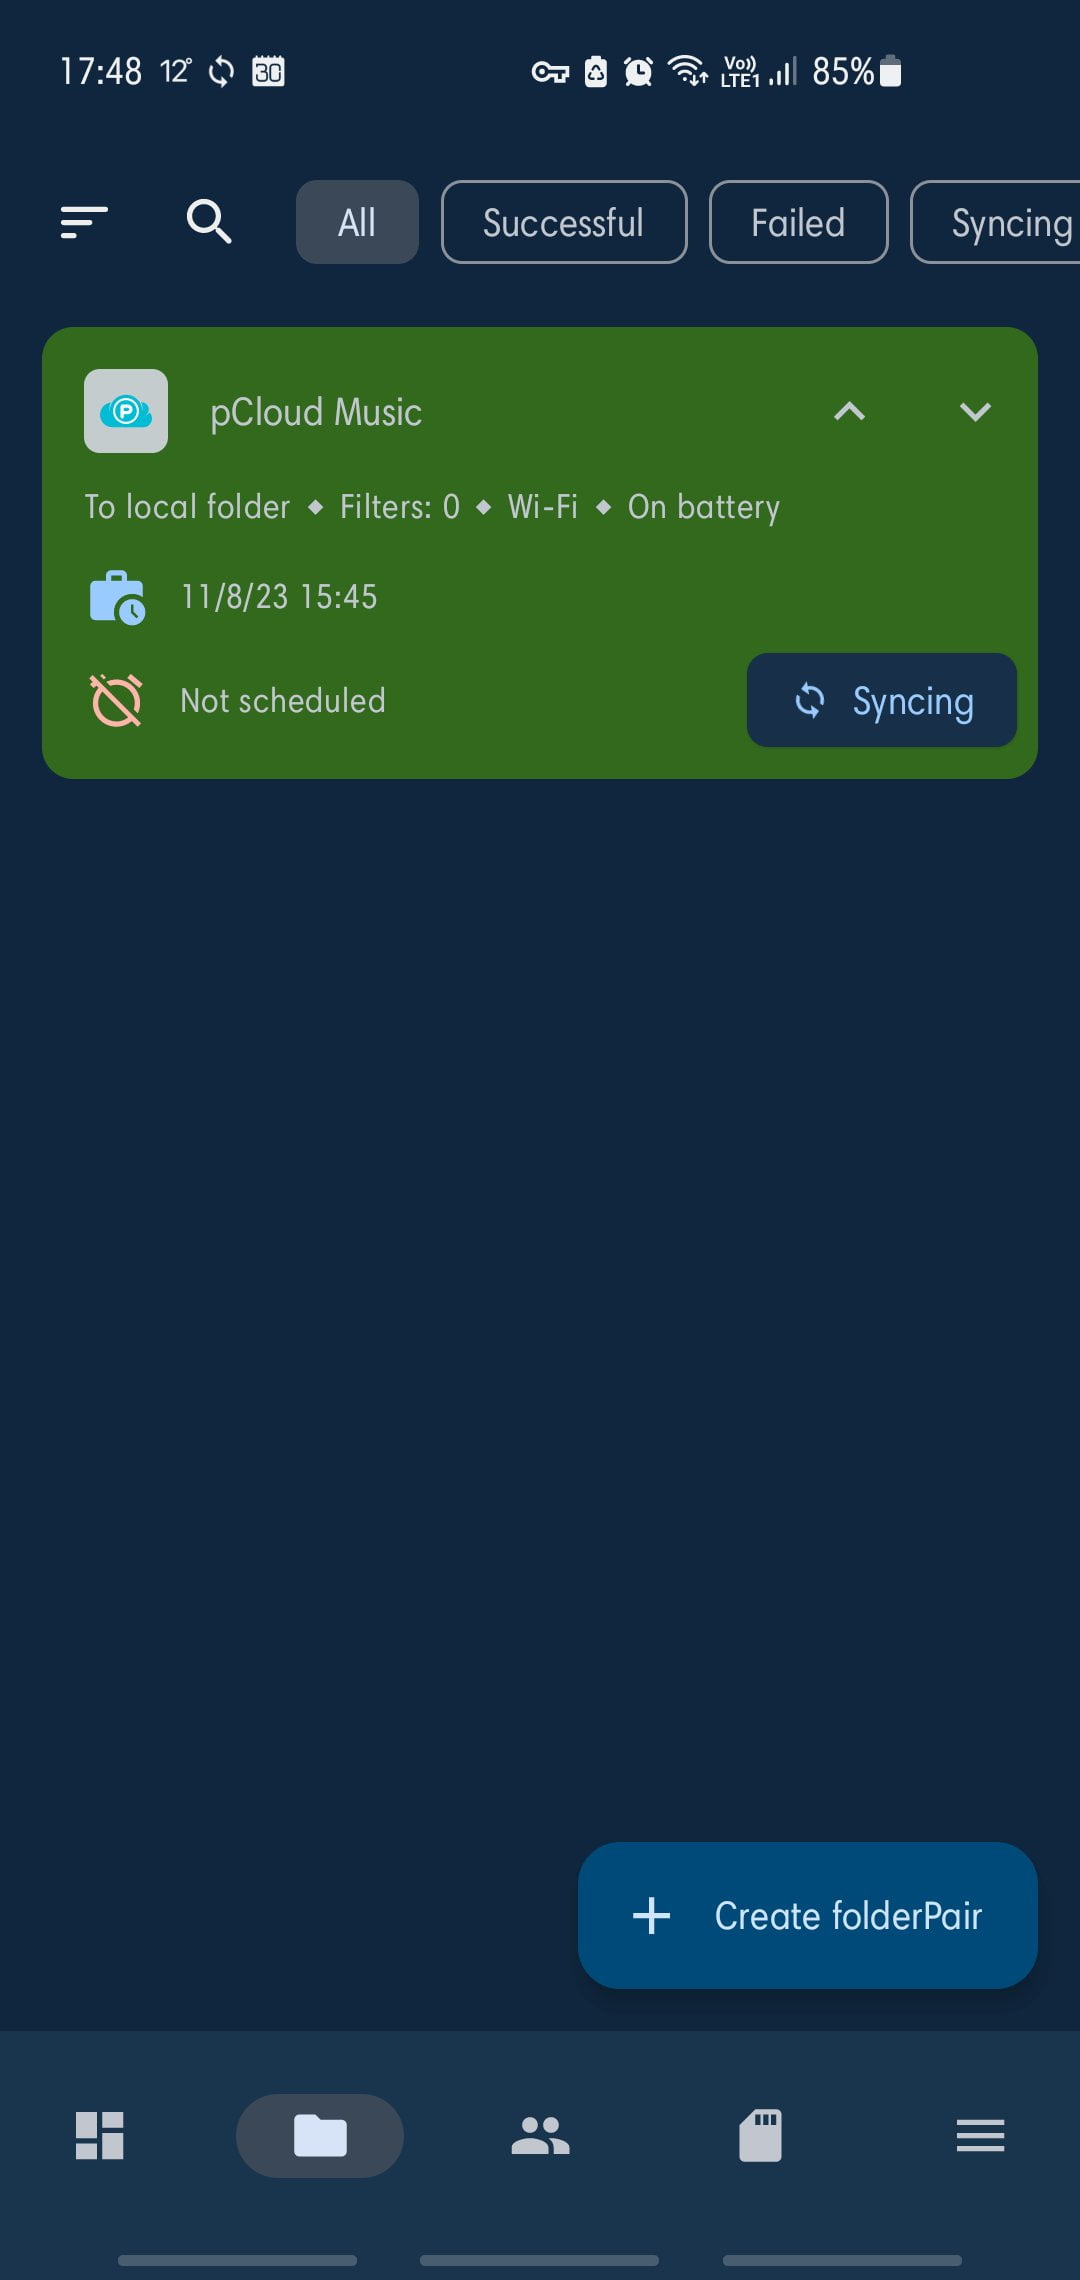
Then you are ready to go. In the example below the pCloud sync for music files is working great.
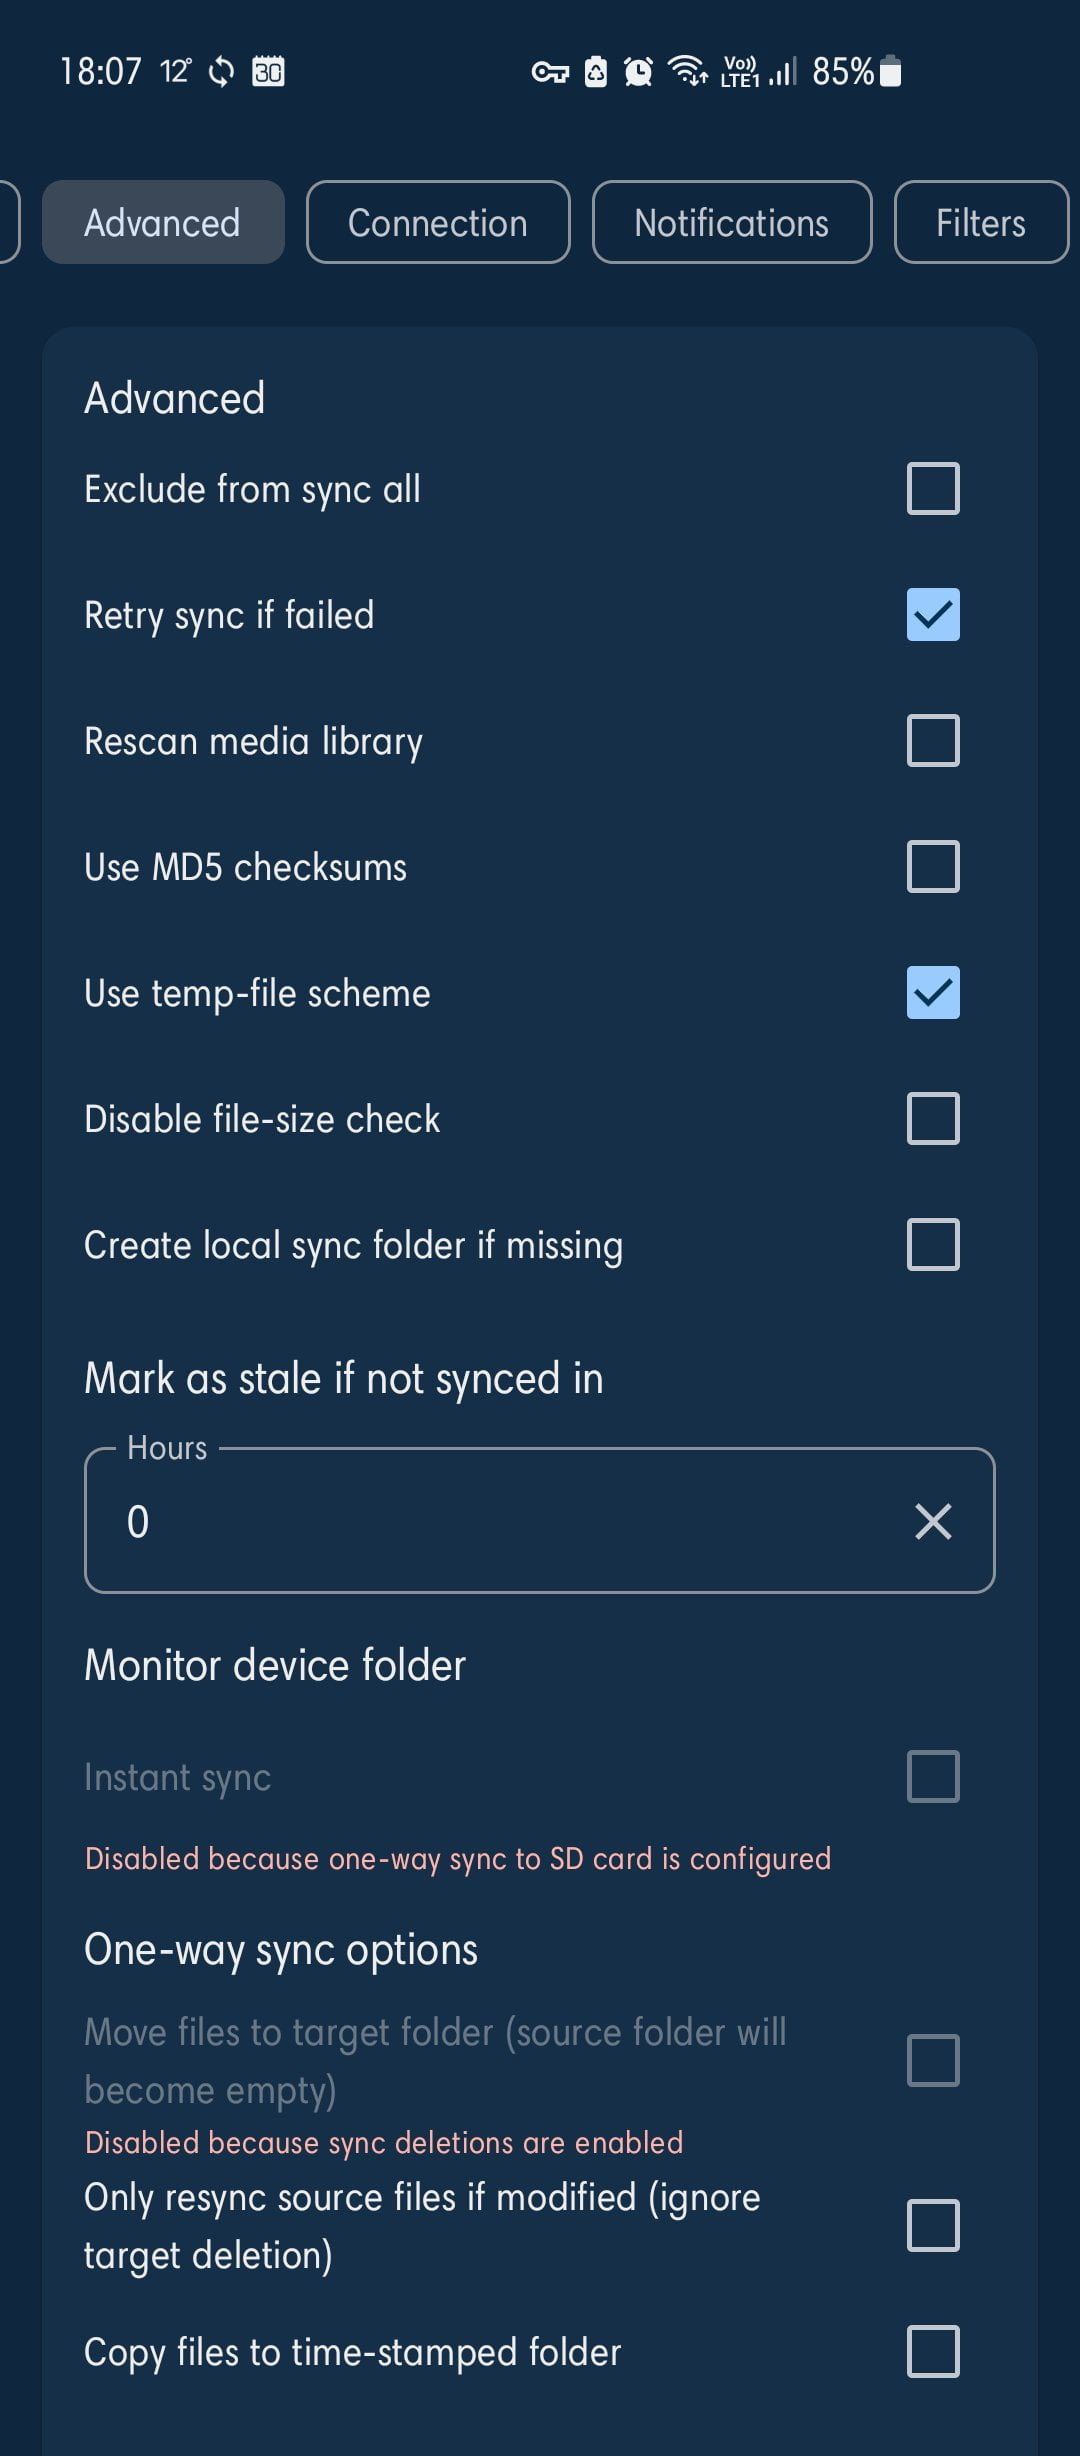
Step 4: Setup your sync options
You can then define many sync rules, which are pretty detailed.
This include includes behaviours with subfolder, conflicts, etc…

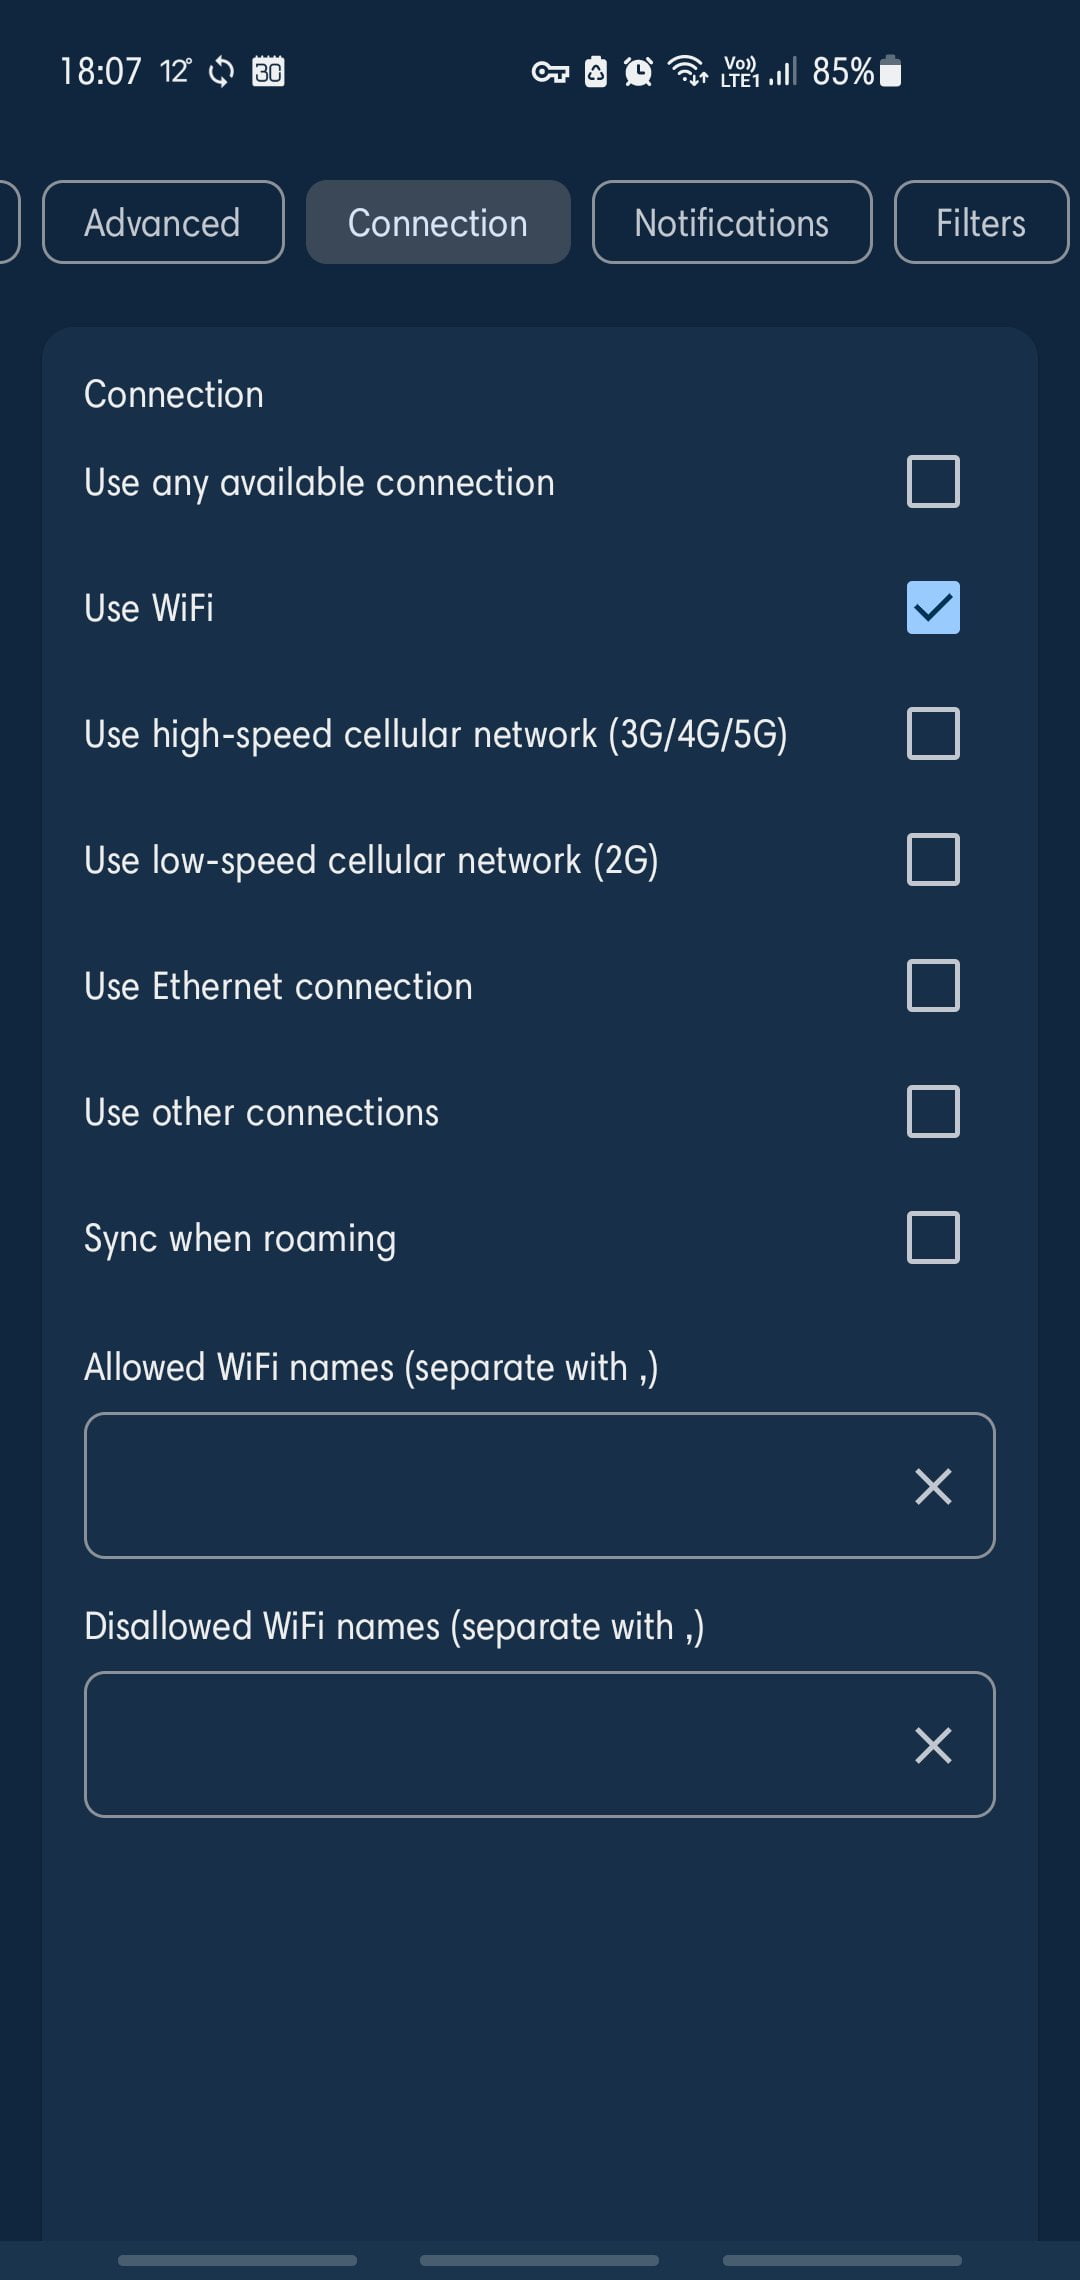
You can also define connection methods…
As well as advanced options such as protocols, retry, rescan, etc…
Conclusion
This app is juste great as it bypass all native limitations of the pCloud app. It also permit to directly access your files on your phone by you or any apps (as accessing files synchronised by the pCloud app is not possible). And it permits to back any folder of your phone to pCloud automatically (not only you pictures).
Looks like a security nightmare.